Today is my day to host the blog over at Frosted Designs!! Here is my post today:
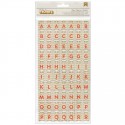
Happy Monday!! Hope you all had a wonderful Easter weekend! It's Joni here today sharing a few layouts that I've made using the Jillibean Soup mini-placemats that are for sale in the Frosted Designs store!
These are just so easy to use "just the way they are" or the can easily be dressed up to add a little more umph.
I used the last pieces of my December Frosted Designs kit Seasons of Stars on this layout that shows my silly son decorating our pomegranate tree at Christmas. The fun title on the placemat helped set the mood of my layout.
I wrapped red and green twine around the placemat on the diagonal (secured with scotch tape on the back) and then popped the placemat to add dimension.
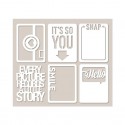
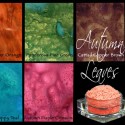
On this layout to document one of my son's art projects, I used 2 different Jillibean Placemats.
I colored them with Lindy's orange, on the lower one, I highlighted the number 4 (for 4th grade) and in the top one, the "Favorite" frame, I colored the word Favorite, then added a stripe pattern paper and Fancy Pants Chalk tape with the words Art with Verbs written with my white Signo pen. Hint: I tried it first and it smeared, but tried it again after letting it dry and it set up just fine!
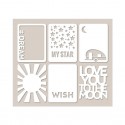
This next one is actually a 9x9 layout that is the front page of an album I'm creating for some friends, so I've left it fairly plain. This album is a surprise so I stole this photo from their Facebook page!
I decorated the placemat with some rub-ons, stickers and rhinestones, and popped it to add dimension.
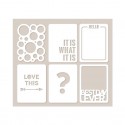
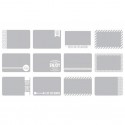
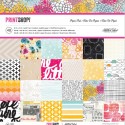
On this next layout, I used the placemat that is a pattern of different circles - top left in the set below.
First I used the placemat as a stencil and traced the circles all down the left side of my background paper just by moving it around to the next spot I wanted to make some circles.
My top right photo looks cloudy because I have used one of the awesome Project Life Photo Overlay on it.
It looks fine in real life...just looks funny here when I tried to photograph it.
I colored the placemat with ink and mists and cut it in half and adhered it.
Colored a few circles white for accent with my Signo pen.
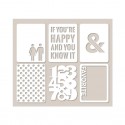
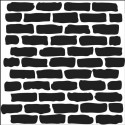
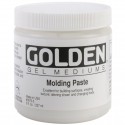
For this layout, I used modeling paste and paint with the brick stencil to make the smaller bricks, cut them out, inked them and then adhered them to the white background square. I also happen to have the larger version of the brick stencil so I used that on the background.
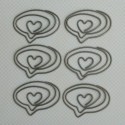
The placemat on this layout was simply backed with black cardstock and I added a few swipes of ink to match the grungy-ness of the layout. I also used a Project Life Photo Overlay (Today was Epic) and a Maya Road Metal Heart clip.
These placemats are great to use as your title...or as a subtitle, as an embellishment or even as a stencil or mask. I love these (yes I bought all 4 sets) and can't wait to play with them some more!!
You should pick some up before they are all gone. While you're at it, grab some of the Project Life Photo Overlays!!


.jpg)